Oi Sobagi Recipe: Crisp Stuffed Cucumber Kimchi
This post contains affiliate links. As an Amazon Associate, we earn from qualifying purchases at no extra cost to you.
Oi Sobagi Recipe: Crisp Stuffed Cucumber Kimchi
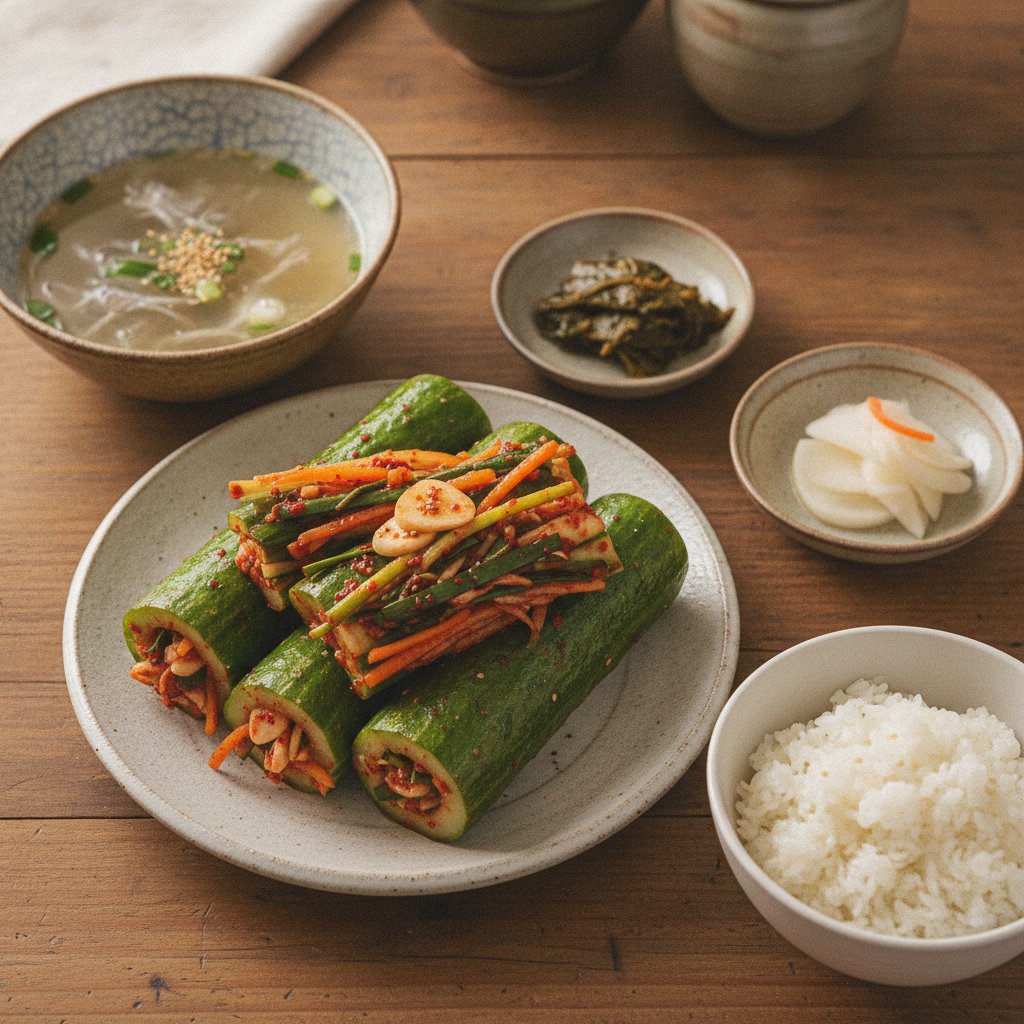
In Seoul, late May brings a distinct shift to our neighborhood markets. As the days warm up, heavy winter jars of thick, fermented cabbage kimchi give way to bright green piles of fresh summer cucumbers. My grandmother used to say that summer officially starts when the first batch of oi sobagi (stuffed cucumber kimchi) hits the dinner table. Served straight from the refrigerator, its cold crunch, juicy interior, and spicy garlic kick instantly awaken tired summer appetites.
Traditional baechu kimchi (napa cabbage kimchi) takes days of slow fermentation to develop depth, but oi sobagi (stuffed cucumber kimchi) is all about immediate gratification. It offers a clean, crisp crunch with a vibrant filling made from fresh buchu (Korean chives), gochugaru (Korean red pepper flakes), and garlic. Whether enjoyed after a single day of quick countertop fermentation or eaten fresh right after stuffing, this dish is a staple of Korean home cooking during warmer months.
If you have ever tried making cucumber kimchi at home only to end up with watery, soggy vegetables after a couple of days, you are not alone. Making a great oi sobagi recipe comes down to controlling moisture. Once you master one essential Korean home technique—brining the cucumbers in hot salted water—you will make remarkably crunchy kimchi every single time using ingredients available at your local grocery store.
Why This Works
- The Hot Brine Technique: Pouring boiling salt water over the raw cucumbers draws out excess moisture rapidly while locking down the vegetable’s structural pectin, keeping the cucumbers delightfully crisp for weeks rather than turning soft.
- Precision Cross-Slitting: Cutting an ‘X’ into the cucumber while leaving one end intact creates a secure natural pocket that holds the fragrant garlic-chive stuffing tightly inside every bite.
- Balanced Fresh Paste: Combining Korean chives, grated onion, and plum syrup creates a savory, slightly sweet chili paste that ferments quickly without overpowering the natural sweetness of the cucumber.
🛒 Oi Sobagi Recipe
As an Amazon Associate we earn from qualifying purchases.
Shop Ingredients & Tools →Ingredients
- 500 g (about 1.1 lbs) small, thin-skinned cucumbers (Korean oi or Kirby cucumbers; about 4 to 5 medium cucumbers)
- 60 g (about 1/4 cup) coarse sea salt or kosher salt for the brine
- 1 liter (about 4.2 cups) water
- 60 g (about 1 cup packed) buchu (Korean chives), trimmed and sliced into 1/2-inch pieces
- 30 g (about 1/3 cup) gochugaru (Korean red pepper flakes)
- 30 ml (2 tbsp) Korean fish sauce (or Thai fish sauce)
- 15 ml (1 tbsp) maesil-cheong (Korean green plum syrup) or granulated sugar
- 15 g (about 1 tbsp) minced fresh garlic
- 5 g (about 1 tsp) finely grated fresh ginger
- 30 g (about 2 tbsp) finely grated yellow onion
- 10 g (about 1 tbsp) toasted white sesame seeds
Substitutions
If you cannot source every traditional item from a nearby Asian market, simple grocery store swaps will work cleanly without sacrificing flavor:
- Cucumbers: Traditional Korean cucumbers (oi) are light green, thin-skinned, and bumpy. The best Western substitute is the Kirby cucumber (pickling cucumber) or small Persian cucumbers. Avoid large English hothouse cucumbers or thick dark-green field cucumbers, as their skins are tough, their seeds are large, and their flesh holds too much water.
- Korean Chives (Buchu): Korean chives are flatter and tenderer than Western chives. Garlic chives from an Asian market are ideal, but thin spring green onions (scallions) sliced lengthwise and cut into short ribbons make a fantastic alternative.
- Korean Plum Syrup (Maesil-Cheong): This fermented fruit syrup adds subtle tartness and sweetness. You can easily swap it for an equal amount of raw sugar, honey, or a tablespoon of grated Asian pear or sweet red apple.
- Fish Sauce: Standard Thai fish sauce (such as Red Boat or Three Crabs) works wonderfully here. For a vegan option, substitute liquid aminos, Yondu vegetable umami sauce, or a light soy sauce mixed with a dash of mushroom powder.
How to Make It
- Trim and Section the Cucumbers: Wash 500 g of cucumbers thoroughly under cold water and rub off any prickly bumps on the skin using a bit of coarse salt. Trim off both dry ends. Cut each cucumber crosswise into pieces roughly 2 inches (5 cm) long. Stand each piece vertically on your cutting board and slice an ‘X’ shape straight down through the center, stopping about 1/2 inch (1.25 cm) before the bottom base. Leaving the bottom intact creates a sturdy pocket to hold the stuffing.
- Prepare the Hot Salt Brine: In a medium pot, combine 1 liter of water and 60 g of coarse sea salt. Bring the mixture to a rolling boil over medium-high heat, stirring until the salt dissolves completely. Heating the brine allows the salt to penetrate the thick cell walls of the cucumber much faster than cold water.
- Brine the Cucumbers: Place the cut cucumber pieces into a heat-proof bowl. Pour the boiling hot brine directly over the cucumbers, making sure they are fully submerged. Let them steep in the hot salted water for 45 to 60 minutes. Why hot brine? Boiling water briefly cooks the surface enzymes that cause softenings, keeping the cucumber crisp over long periods, while the salt draws out trapped water.
- Rinse and Drain Thoroughly: Drain the cucumbers in a colander and rinse them quickly under cool running water to wash off excess surface salt. Stand the cucumbers cut-side down in the colander for at least 15 to 20 minutes to drain off all excess liquid. Gently squeeze a piece—it should feel pliable and bend at the ‘X’ slit without snapping apart. Dry the exteriors with paper towels.
- Mix the Chive Paste (Sok): In a medium mixing bowl, combine 30 g gochugaru, 30 ml fish sauce, 15 ml plum syrup (or sugar), 15 g minced garlic, 5 g grated ginger, and 30 g grated onion. Stir well and let the paste sit for 5 minutes so the dry red pepper flakes can hydrate into a glossy red paste. Gently fold in 60 g sliced Korean chives and 10 g sesame seeds until evenly coated. Avoid overmixing the chives so they do not become bruised or slimy.
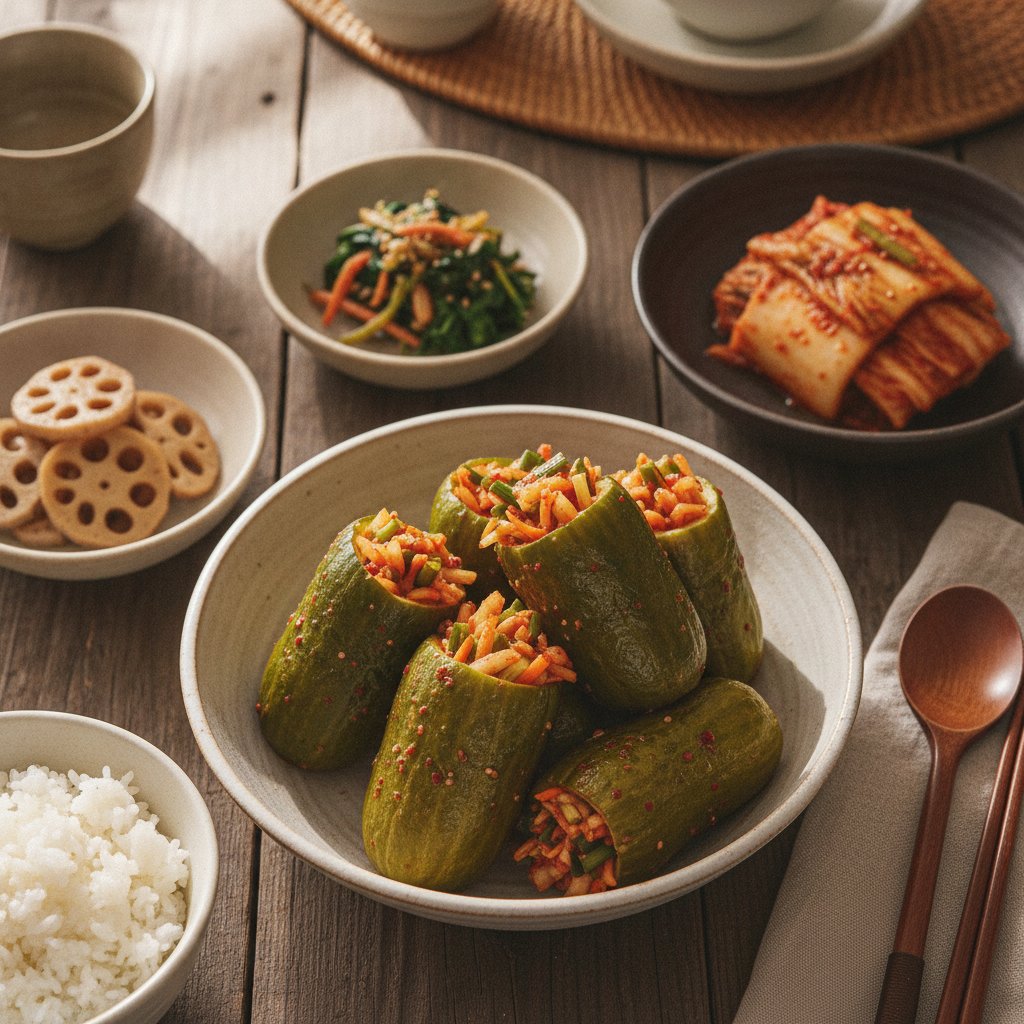
- Stuff the Cucumbers: Put on food-safe disposable gloves to protect your hands from chili stains. Gently pry open the four cut leaves of each cucumber piece. Take about a tablespoon of the spicy chive filling and pack it into the center slit, making sure paste reaches deep inside the pocket. Wipe any extra filling along the outside skin of the cucumber. Repeat until all pieces are stuffed.
- Pack and Ferment: Pack the stuffed cucumbers tightly into a clean glass jar or airtight food container, leaving minimal empty air space. Press them down firmly so any trapped air escapes. Pour any remaining chili paste from the mixing bowl over the top. Seal the lid tightly.
🛒 Oi Sobagi Recipe
As an Amazon Associate we earn from qualifying purchases.
Shop Ingredients & Tools →Tips from a Korean Kitchen
In my family, making cucumber kimchi was always a fast-paced seasonal routine. Over years of watching my mother fill stoneware jars, I picked up a few vital techniques that make all the difference:
- Never Skip the Bottom Margin: When cutting the ‘X’ into your cucumbers, lay two chopsticks flat on your cutting board on either side of the cucumber piece. When your knife hits the chopsticks, it naturally stops before cutting all the way through, ensuring your bottom base stays connected every single time.
- Keep the Brine Boiling Hot: It feels counterintuitive to pour boiling water over fresh raw vegetables, but cold salt water leaves the cucumbers soft and soggy after just two days in the fridge. The thermal shock sets the outer skin firm.
- Don’t Over-Stuff: It is tempting to cram as much garlic chive paste into the pockets as possible, but packing too tightly will split the base of the cucumber apart. A neat tablespoon is plenty to flavor each piece from the inside out.
- Control Fermentation Time carefully: Cucumbers contain a high percentage of water, meaning they ferment much faster than dense cabbage or radishes. Leaving oi sobagi at room temperature for too long will turn the interior sour and soft.
Storage
Unlike napa cabbage kimchi, which can ferment happily in your refrigerator for months, cucumber kimchi is meant to be enjoyed fresh and lively.
Leave your sealed container of oi sobagi on the kitchen counter at room temperature for 12 to 24 hours to kickstart fermentation. Once you see tiny air bubbles forming at the sides or smell a pleasantly tangy aroma, transfer the container directly to the coldest part of your refrigerator.
Cucumber kimchi is ready to eat immediately after chilling, reaching its absolute peak flavor between day 2 and day 7. It will remain crisp in the refrigerator for up to 2 weeks. After two weeks, the cucumbers will begin to lose their crisp crunch and release water, though they remain safe to eat.
Freezer Warning: Never freeze oi sobagi. Freezing expands the water inside the cucumber cells, causing the walls to rupture completely. When thawed, frozen cucumber kimchi turns into a mushy, watery mess. Always enjoy this dish fresh from the fridge!
FAQ
Why did my cucumber kimchi turn mushy and soft?
Cucumber kimchi turns soft when too much natural water remains inside the cucumber tissues or when cold water brining was used. Pouring a hot salt brine over the cucumbers gelatinizes the pectin layer on the skin, sealing in crunch. Using large, watery English cucumbers instead of pickling or Kirby cucumbers can also lead to soft kimchi.
Can I make oi sobagi without fish sauce for a vegan version?
Yes, absolutely. In Korea, temple food cooks make delicious vegan cucumber kimchi all the time. Simply replace the fish sauce with an equal amount of Yondu vegetable umami condiment, liquid aminos, or a mild vegan soy sauce paired with a pinch of sea salt. The natural garlic, ginger, and chives will provide plenty of aromatic punch.
How long should I let oi sobagi ferment before eating it?
You can eat stuffed cucumber kimchi immediately right after making it as a fresh, crisp salad (known as geotjeori). However, for classic fermented kimchi flavor, leave the packed jar on your kitchen counter for 12 to 24 hours until slightly fragrant, then refrigerate for at least 12 hours before serving chilled.
🛒 Oi Sobagi Recipe
As an Amazon Associate we earn from qualifying purchases.
Shop Ingredients & Tools →More Korean Recipes
- Crunchy & Refreshing Kkakdugi Recipe (Cubed Radish Kimchi)
- Kimchi Storage (김치 보관법) & Sour Kimchi Tips
- Quick Oi Muchim (Cucumber Kimchi) in 15 Minutes
- How to Make Kimchi (김치) at Home: A Small-Batch Beginner’s Guide
🛒 Oi Sobagi Recipe
As an Amazon Associate we earn from qualifying purchases.
Shop Ingredients & Tools →