Korean Pickled Garlic Recipe: Maneul Jangajji
This post contains affiliate links. As an Amazon Associate, we earn from qualifying purchases at no extra cost to you.
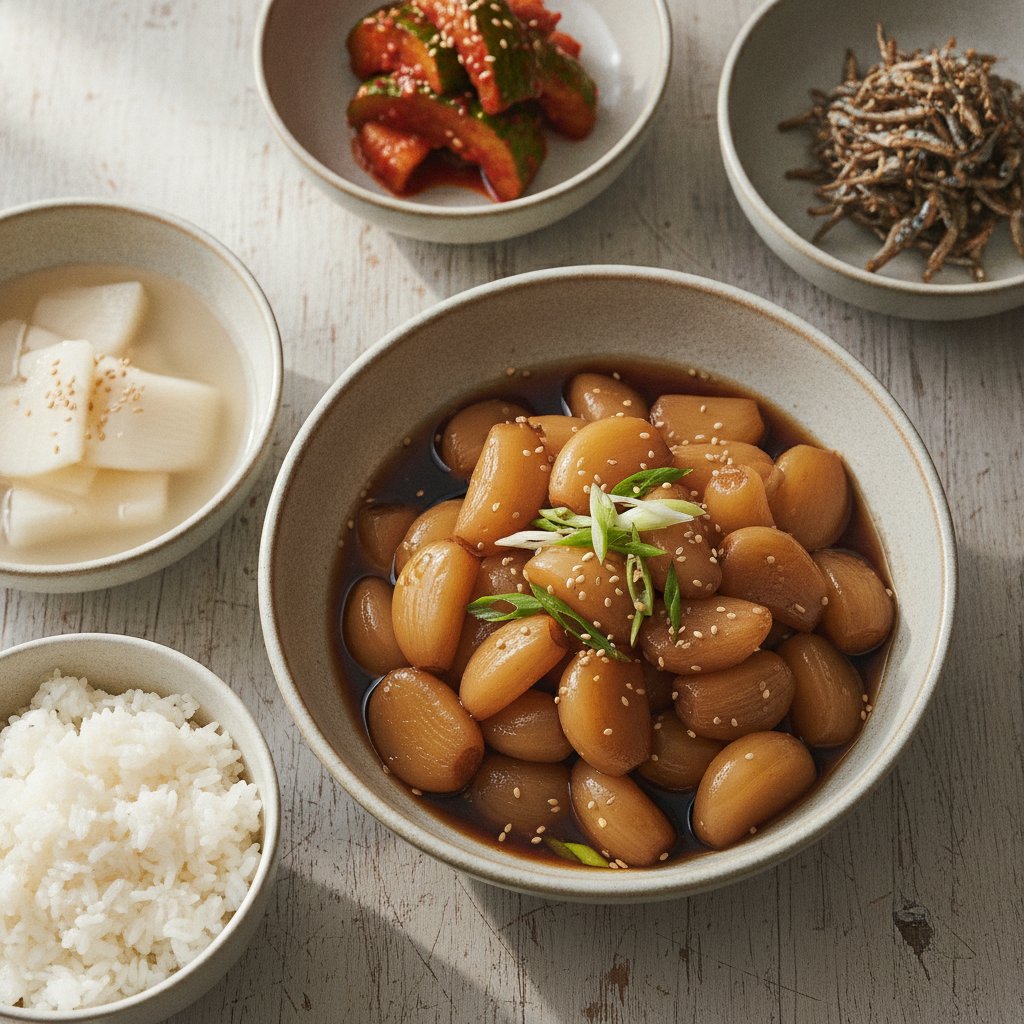
Growing up in Seoul, early summer prep always meant my grandmother sitting on a low plastic stool on our shaded balcony, peeling mountains of fresh spring garlic cloves until her thumbs were stained pale yellow. In a traditional Korean home, garlic isn’t merely a background aromatic used to kick off a stir-fry; it is a centerpiece vegetable in its own right. Among all our pantry staples, maneul jangajji (sweet soy pickled garlic) holds a sacred, prized spot in the back of the refrigerator.
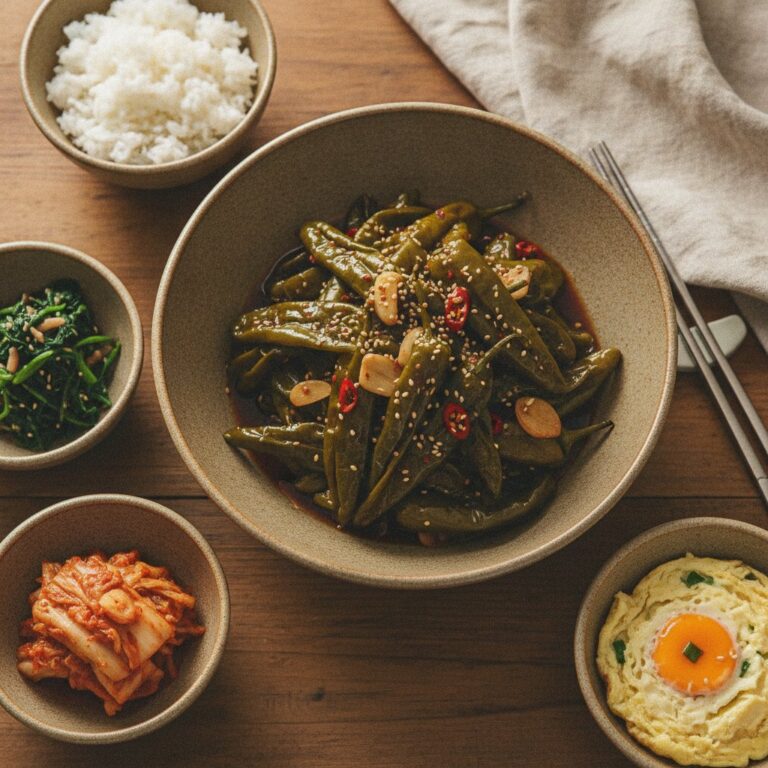
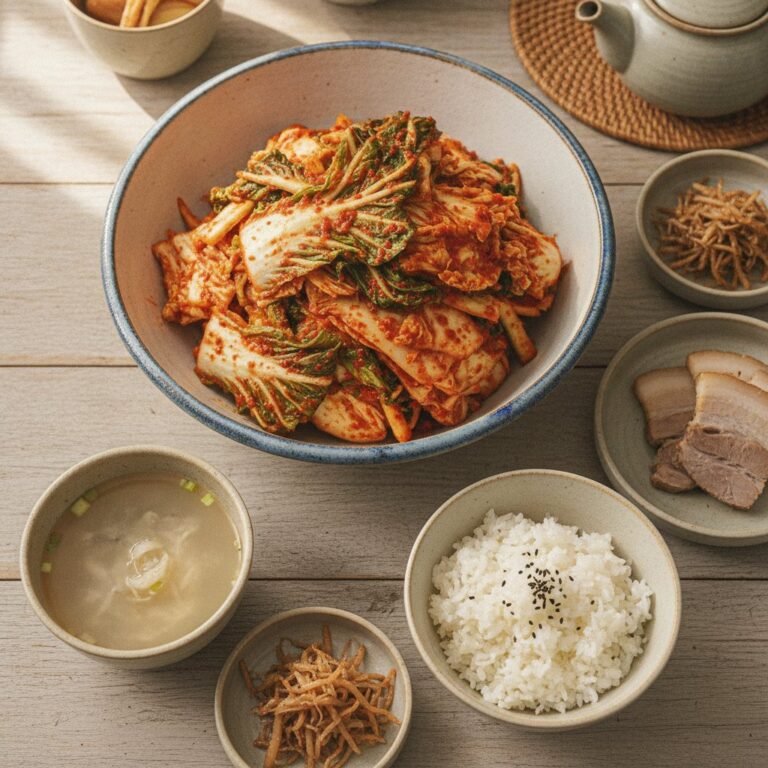
If you have ever dined at a Korean barbecue house, you have likely seen these translucent, mahogany-colored garlic cloves served in small side dish (banchan) bowls alongside sizzling cuts of samgyeopsal (grilled pork belly) or galbi (marinated short ribs). Raw garlic can be fiercely harsh, leaving a burning trail down your throat and a sharp bite that lingers until the next morning. Pickling, however, transforms garlic into something truly special: snappy, subtly sweet, pleasantly tangy, and deeply savory without that aggressive raw fire.
Making maneul jangajji at home is straightforward, but it requires patience and a classic two-step pickling method that many quick online recipes skip. If you simply pour soy sauce and vinegar directly over raw garlic and toss it into the fridge, you end up with bitter, rock-hard cloves that burn your stomach. In this authentic home recipe, I will guide you through our traditional Korean approach to de-bittering garlic first, ensuring every single clove delivers a satisfying crunch with a mellow, addictively balanced flavor.
Why This Works
- Two-stage pickling neutralizes harsh heat: A preliminary vinegar soak breaks down allicin—the organic compound responsible for garlic’s intense burn—converting raw heat into an appetite-stimulating tang without cooking the clove.
- Hot brine technique seals in crunch: Pouring a warm soy-sugar brine over the garlic tightens the vegetable’s cellular walls, creating an irresistible snap rather than a soggy, soft pickle.
- Balanced pantry ratio: Built on equal foundational proportions of soy sauce, vinegar, water, and sugar, this recipe converts easily whether you process garlic fresh from a local farm or use pre-peeled bags from your neighborhood grocery store.
Ingredients
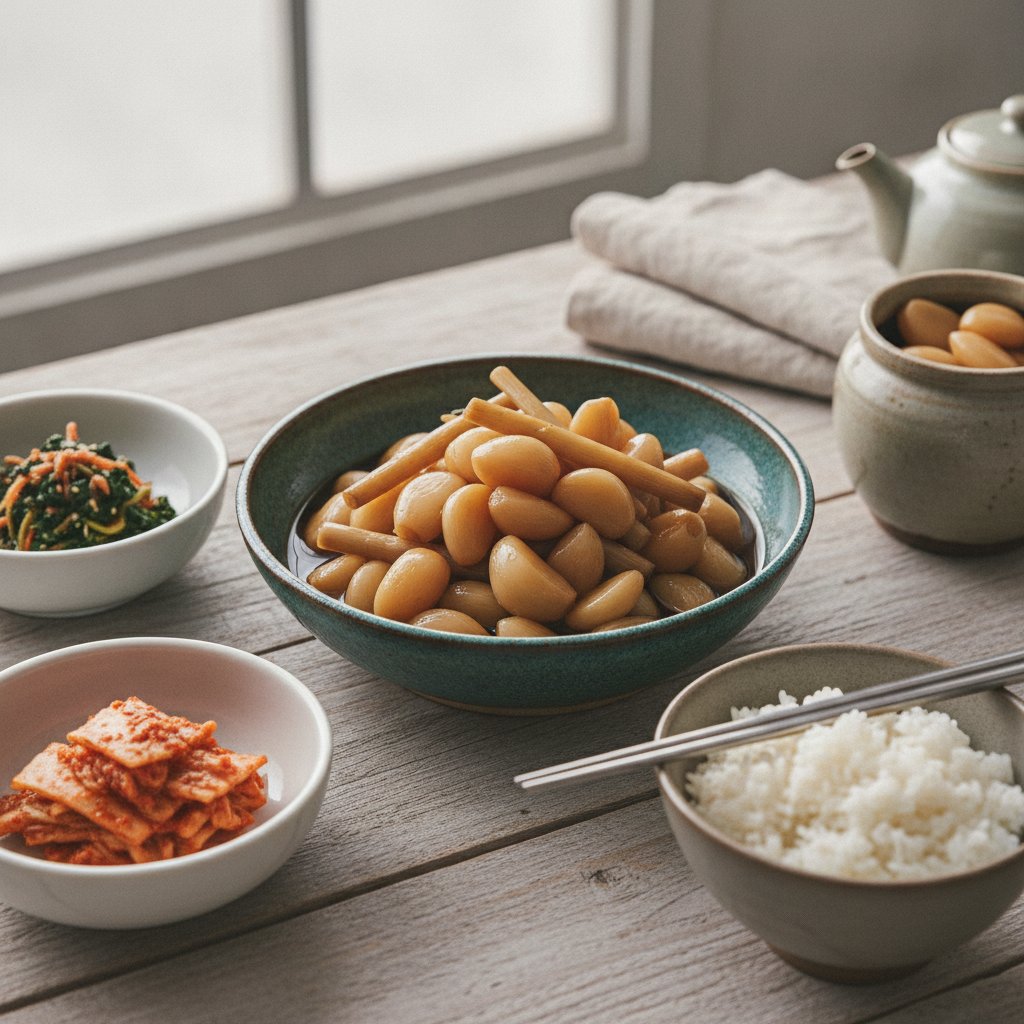
- 500 g (about 1.1 lbs) fresh garlic cloves, peeled with root ends neatly trimmed
- 240 ml (1 cup) distilled white vinegar or rice vinegar (for Stage 1 de-bittering soak)
- 240 ml (1 cup) Korean soy sauce (jin-ganjang) or regular light soy sauce
- 240 ml (1 cup) water (or quick kelp stock made with 1 piece of dried dashima)
- 180 g (about 3/4 cup) granulated white sugar or raw cane sugar
- 120 ml (1/2 cup) additional rice vinegar (or reserved garlic-infused vinegar from Stage 1)
Substitutions
Korean Soy Sauce (Jin-Ganjang): Regular all-purpose soy sauce, such as Kikkoman or Yamasa, works perfectly. Avoid dark Chinese soy sauce, which is too heavy and thick, as well as low-sodium soy sauces, which alter the shelf-stability ratio of the brine.
Rice Vinegar: Korean brown rice vinegar (ssagae-sikcho) offers a smooth, mild acidity. Standard Western white distilled vinegar or mild apple cider vinegar work equally well. Apple cider vinegar adds a subtle fruity undertone that pairs beautifully with pork dishes.
Dashima (Kelp Stock): Steeping a 2-inch square piece of dried kelp in warm water for 15 minutes creates an umami-rich base liquid for your master brine. If kelp is unavailable, plain filtered water works fine, or you can add a tiny pinch of mushroom powder to the simmer.
🛒 Korean Pickled Garlic Recipe
As an Amazon Associate we earn from qualifying purchases.
Shop Ingredients & Tools →How to Make It
- Prep and thoroughly dry the garlic: Carefully peel all garlic cloves, taking care not to nick or deeply bruise the flesh. Slice off the hard, yellow root disk at the base of each clove. Wash the cloves under cold water and spread them across clean kitchen towels to dry completely for at least 1 hour. Why: Trapped surface moisture introduces wild bacteria and dilutes the acid levels, which can lead to mold or cloudy brine during long-term storage.
- Execute the initial vinegar soak (Stage 1): Place the dry garlic cloves into a clean, dry glass jar. Pour in 240 ml (1 cup) of vinegar, making sure all cloves are completely submerged. Seal the lid tightly and place the jar in a cool, dark kitchen cabinet at room temperature for 7 to 10 days. Why: Raw garlic contains potent enzymes that cause digestive distress and sharp pungency. This acidic pre-soak deactivates those enzymes while locking in the garlic’s crisp texture.
- Drain and measure the soaking acid: After 7 to 10 days, open the jar and drain the garlic through a strainer set over a bowl. Do not discard this liquid! Measure out 120 ml (1/2 cup) of this garlic-infused vinegar to use directly in your soy brine mixture. Why: The soaking vinegar now carries gentle, sulfur-free garlic aromatics that add complex depth to your final master brine.
- Simmer the soy master brine: In a medium saucepan, combine 240 ml (1 cup) soy sauce, 240 ml (1 cup) water or kelp stock, 180 g (3/4 cup) sugar, and the 120 ml (1/2 cup) reserved garlic vinegar. Bring the mixture to a rapid boil over medium-high heat, stirring until the sugar dissolves completely, about 2 to 3 minutes. Remove from the heat and let it cool for 5 minutes until warm to the touch but no longer bubbling. Why: Boiling dissolves the sugar fully and sterilizes the brine. Pouring the liquid while still warm gently scalds the outer surface of each clove, encouraging faster soy absorption without softening the interior core.
- Combine garlic and brine in the final vessel: Place the soaked garlic back into a thoroughly cleaned glass jar. Pour the warm soy master brine over the garlic until every clove is completely covered. Position a small ceramic weight, glass pickling weight, or a food-safe plastic bag filled with a tiny bit of water on top to keep the floating cloves submerged. Why: Garlic cloves float naturally. Exposed cloves floating above the brine line can oxidize, turn dark brown, or spoil when exposed to air trapped inside the sealed jar.
- Age and mature in cold storage: Seal the jar tightly. Keep it on your counter at room temperature for 3 days to jumpstart the pickling process, then transfer the jar to your refrigerator. Let the garlic age for at least 2 to 3 weeks before tasting your first clove. Why: The rich soy sauce needs time to migrate into the dense core of each garlic clove. As it ages, the garlic loses its remaining raw bite and turns translucent with a deep mahogany color.
Tips from a Korean Kitchen
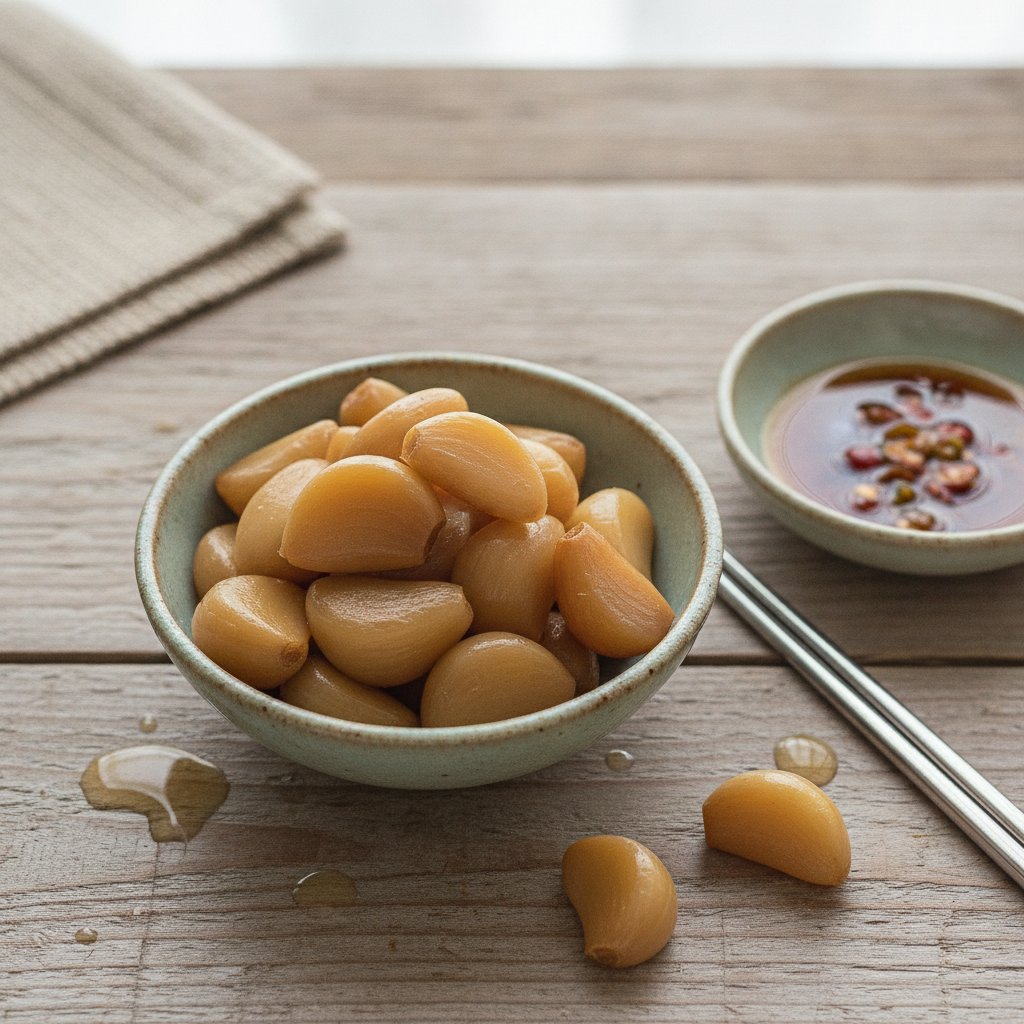
- Don’t panic if your garlic turns blue or green: Garlic cloves sometimes turn a striking jade green or bluish hue during the initial vinegar soak. This is a harmless natural reaction between sulfur compounds and trace minerals when exposed to acid. Storing your pickling jar in a dark cabinet away from ambient light during Stage 1 minimizes this reaction. Even if they change color, the cloves are completely safe and delicious to eat!
- Re-boil the brine for long-term keeping: In traditional Seoul households, my mother would open the pickle jar after 10 days of aging, drain the soy brine back into a pot, bring it to a quick boil, cool it down *completely*, and pour it back over the garlic. Repeating this step removes excess moisture drawn out from the garlic flesh, allowing the pickles to keep for over a year without losing their snap.
- Repurpose the leftover soy liquid: Never throw out the dark soy brine once you finish the garlic cloves! This garlic-infused soy syrup is pure flavor gold. Use it as a dipping sauce for pajeon (scallion pancakes) or mandoo (dumplings), or use it as a braising base for soy-seasoned eggs.
- Pair with rich, savory proteins: Maneul jangajji cuts through heavy fats extraordinarily well. Wrap a single pickled clove inside a fresh lettuce or perilla leaf along with a slice of roasted pork, a dab of ssamjang (seasoned soybean paste), and a spoonful of steamed rice for the ultimate bite.
Storage
Keep your finished maneul jangajji stored in the refrigerator at all times after the initial room-temperature curing stage. Ensure the garlic cloves remain pushed down under the liquid level using a clean utensil whenever you retrieve a portion. Properly refrigerated in a sealed glass container, pickled garlic stays crisp, sweet, and flavorful for 9 to 12 months. Do not freeze this dish; freezing destroys the tight cellular structure of garlic, turning your snappy pickles into soft, watery mush when thawed.
🛒 Korean Pickled Garlic Recipe
As an Amazon Associate we earn from qualifying purchases.
Shop Ingredients & Tools →FAQ
Why did my pickled garlic turn blue or green?
This dramatic color shift occurs when natural sulfur compounds in the garlic interact with trace minerals and enzymes in an acidic environment. It is completely safe to consume. To prevent discoloration, keep your jar in a completely dark cupboard during the initial vinegar soak and use filtered water.
Can I use pre-peeled garlic from the grocery store?
Yes, pre-peeled whole garlic cloves from Western grocery stores or Asian markets work very well and cut down on prep time. Choose bags with plump, firm, cream-colored cloves without any soft spots, brown spots, or visible dampness.
How long does it take before the pickled garlic is ready to eat?
While you can technically sample them after 10 days, maneul jangajji develops its optimal balance after 3 to 4 weeks of aging (1 week vinegar soak followed by 2 to 3 weeks in soy brine in the fridge). This allows the soy sauce to fully penetrate to the center of each clove.
More Korean Recipes
- Creamy Korean Corn Cheese (콘치즈)
- Gyeran Jjim (Korean Steamed Eggs): Always Fluffy
- Jangjorim Recipe: Authentic Korean Soy-Braised Beef and Eggs
- Eomuk Bokkeum (Stir-Fried Fish Cakes): Your New Favorite Lunchbox Side Dish
🛒 Korean Pickled Garlic Recipe
As an Amazon Associate we earn from qualifying purchases.
Shop Ingredients & Tools →