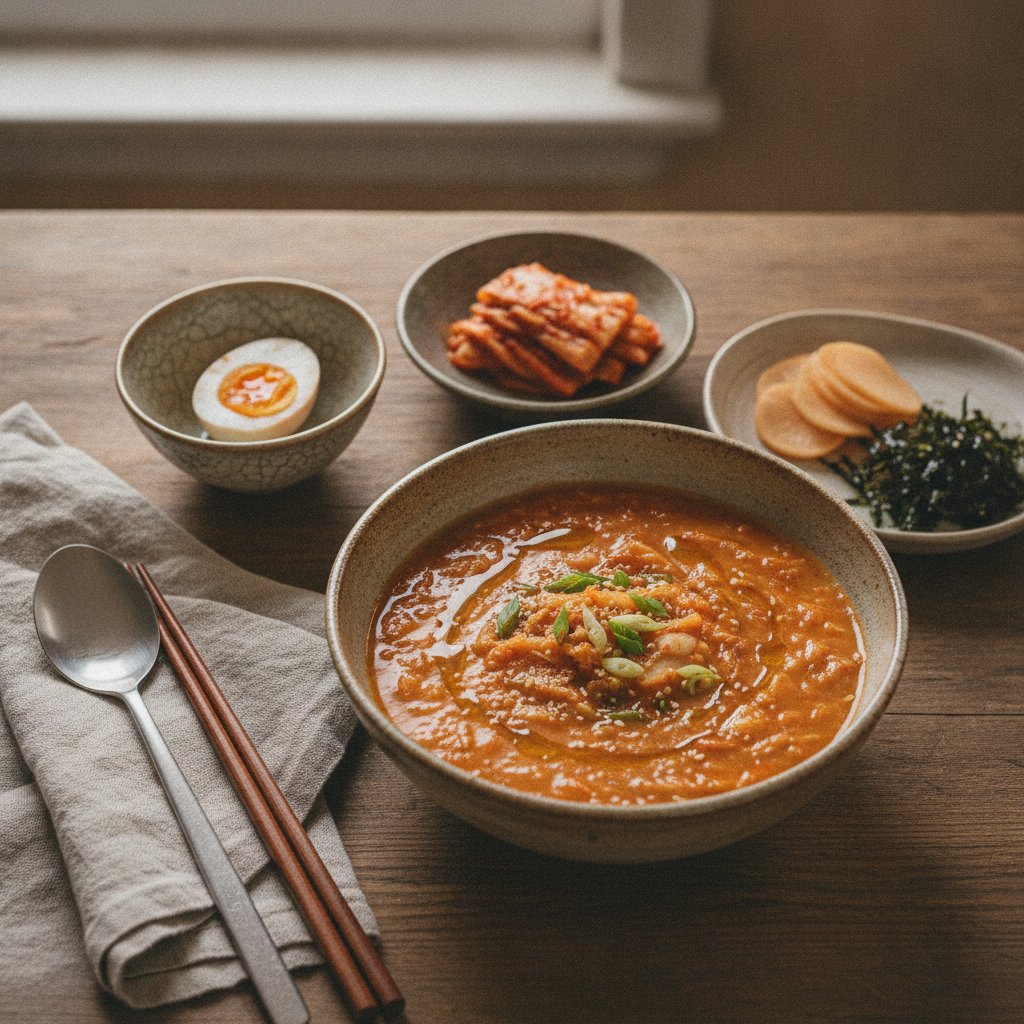
Kimchi Juk: Cozy Korean Kimchi Porridge Recipe
This post contains affiliate links. As an Amazon Associate, we earn from qualifying purchases at no extra cost to you.
At a glance
- In shortA quick Korean recipe for making cozy kimchi rice porridge using leftover cooked rice.
- Best forHome cooks seeking a fast, soothing Korean dish
- Time20 min
- DifficultyEasy
- HeatMedium
- Key pointsSautéing aged kimchi in sesame oil creates a rich flavor base. · Using pre-cooked rice yields a velvety texture in under 20 minutes. · Adding kimchi brine late preserves its bright, tangy flavor.
- Heads-upScrape the bottom of the pot frequently while simmering to prevent rice starches from scorching.
When late November winds howl down through the high-rises in Seoul, my mother always pulls out the deeply fermented kimchi tucked away at the back of the refrigerator. While most people around the world think of kimchi for stir-fries or stews, in my family, cold weather calls for kimchi juk (spicy kimchi rice porridge). It is the ultimate Korean comfort food when you are coming down with a cold, nursing a hangover, or simply needing something warm, velvety, and deeply savory to coat your stomach after a long day.
In Korea, porridge isn’t just breakfast food—it is an entire culinary genre. From high-end chains like Bonjuk on every subway corner to humble home kitchens, juk (rice porridge) is loved for its digestibility and soothing warmth. Traditional juk requires soaking raw rice and slowly breaking it down over an hour, but the way Koreans actually make this at home on busy weeknights is much faster. By starting with leftover cooked white rice, you can transform pantry staples into a rich, steaming bowl of kimchi porridge in under twenty minutes.
Why This Works
- Sautéing the aged kimchi in sesame oil first: Cooked acid softens into a complex, sweet-and-savory base rather than tasting sharp or harsh.
- Using pre-cooked leftover rice: Skips 40 minutes of raw rice soaking and simmering while guaranteeing a velvety texture without scorching the bottom of your pot.
- Adding kimchi brine late in the process: Preserves the live, tangy sparkle of fermented cabbage right before serving without letting the heat dull its brightness.
- Finishing with toasted sesame oil off the heat: Locking in aromatic fats right at the end gives the broth a silky mouthfeel and irresistible nutty aroma.
Ingredients
- 400 g (about 2 cups): Cooked short-grain white rice (preferably day-old or cooled)
- 200 g (about 1 cup): Well-fermented aged baechu kimchi (napa cabbage kimchi), finely chopped
- 60 ml (1/4 cup): Aged kimchi brine (strained liquid from the bottom of your kimchi jar)
- 950 ml (about 4 cups): Anchovy-kelp broth, chicken stock, or vegetable broth
- 15 ml (1 tbsp): Toasted sesame oil (chamgireum)
- 15 g (1 tbsp): Gochujang (Korean chili paste, such as CJ Haandrepl or Sempio)
- 5 g (1 tsp): Gochugaru (Korean coarse chili flakes)
- 5 ml (1 tsp): Guk-ganjang (Korean soup soy sauce) or regular light soy sauce
- 5 g (1 tsp): Garlic, finely minced
- 2 stalks: Green onions (scallions), thinly sliced
- 1 large: Egg (optional, for poaching or swirling)
- 1 tbsp: Toasted sesame seeds, crushed between your fingers for garnish
- 1 sheet: Gim (roasted seasoned seaweed snack), shredded for topping
Substitutions
If you don’t have access to an Asian market, you can easily adapt this kimchi porridge recipe using items from regular Western supermarkets:
- Anchovy-kelp broth (myeolchi yuksu): Traditional Korean homes use dried anchovy and kelp stock. You can easily substitute low-sodium chicken broth or vegetable broth from any grocery store. Chicken broth actually adds a wonderful richness that balances the tangy kimchi.
- Guk-ganjang (soup soy sauce): Korean soup soy sauce is saltier and lighter in color than dark soy sauce. Substitute it with 1/2 teaspoon of regular soy sauce combined with a tiny pinch of sea salt, or a few drops of fish sauce for extra umami.
- Short-grain rice: Short-grain sushi rice yields the most authentic starchiness. If you only have medium-grain or long-grain white rice, it will still work, though you may need to cook it 3-5 minutes longer to break down the starch.
- Kimchi freshness: If your store-bought kimchi is too fresh and crunchy, leave it in a sealed container on your kitchen counter for 24 to 36 hours until it tastes sharp and sour. Fresh kimchi lacks the lactic acid needed to give this porridge its iconic tang.
How to Make It
- Chop the kimchi: Take your aged kimchi and slice it into bite-sized pieces roughly 1/2-inch square. Do not throw away the juice at the bottom of the container; reserve 1/2 cup for later seasoning. Why: Small pieces distribute evenly throughout every spoonful of porridge, ensuring you get texture without giant leafy chunks overwhelming the rice.
- Sauté the aromatics and kimchi: Heat a heavy-bottomed saucepan or Dutch oven over medium heat. Add 1 tablespoon of toasted sesame oil, minced garlic, and the chopped kimchi. Sauté for about 4 to 5 minutes until the cabbage pieces turn soft and slightly translucent at the edges. Why: Sautéing mellows the harsh, raw garlic bite and caramelizes the natural sugars in sour kimchi, laying down a deep flavor foundation.
- Toast the chili paste: Add 1 tablespoon of gochujang and 1 teaspoon of gochugaru to the pot with the kimchi. Cook, stirring constantly, for 1 minute until fragrant. Why: Blooming chili paste in oil releases fat-soluble flavor compounds and removes any raw, metallic starchiness from the gochujang.
- Add broth and rice: Pour in 4 cups of broth and stir well to dissolve any paste sticking to the bottom. Add the 2 cups of cooked white rice. Use a wooden spoon or spatula to gently break apart any cold rice clumps so the grains separate. Why: Breaking the rice clumps immediately ensures each grain absorbs the liquid evenly rather than forming dense doughy balls.
- Simmer to achieve porridge texture: Bring the mixture to a boil over medium-high heat. Once boiling, turn the heat down to low, cover partially with a lid, and let it simmer gentle for 12 to 15 minutes. Stir every 2 to 3 minutes, scraping the bottom of the pot. Why: As the rice absorbs broth, released starches sink to the bottom. Frequent scraping prevents burning and encourages starches to thicken the liquid into a smooth, velvety porridge.
- Season and brighten: Pour in 1/4 cup of reserved kimchi brine and 1 teaspoon of guk-ganjang (or soy sauce). Stir well and taste. If you prefer a punchier flavor, add another tablespoon of brine. Cook for 2 more minutes on low heat. Why: Adding the brine at the very end restores bright, vibrant lactic acid flavors that prolonged boiling would otherwise flatten.
- Optionally add the egg: Crack a fresh egg directly into the center of the gently simmering porridge. You can cover the pot for 2 minutes to soft-poach it, or immediately stir it into the porridge in wide ribbons for extra richness. Why: Stirring the egg in creates a creamier, softer mouthfeel, whereas poaching gives you a rich yolk to break open at the table.
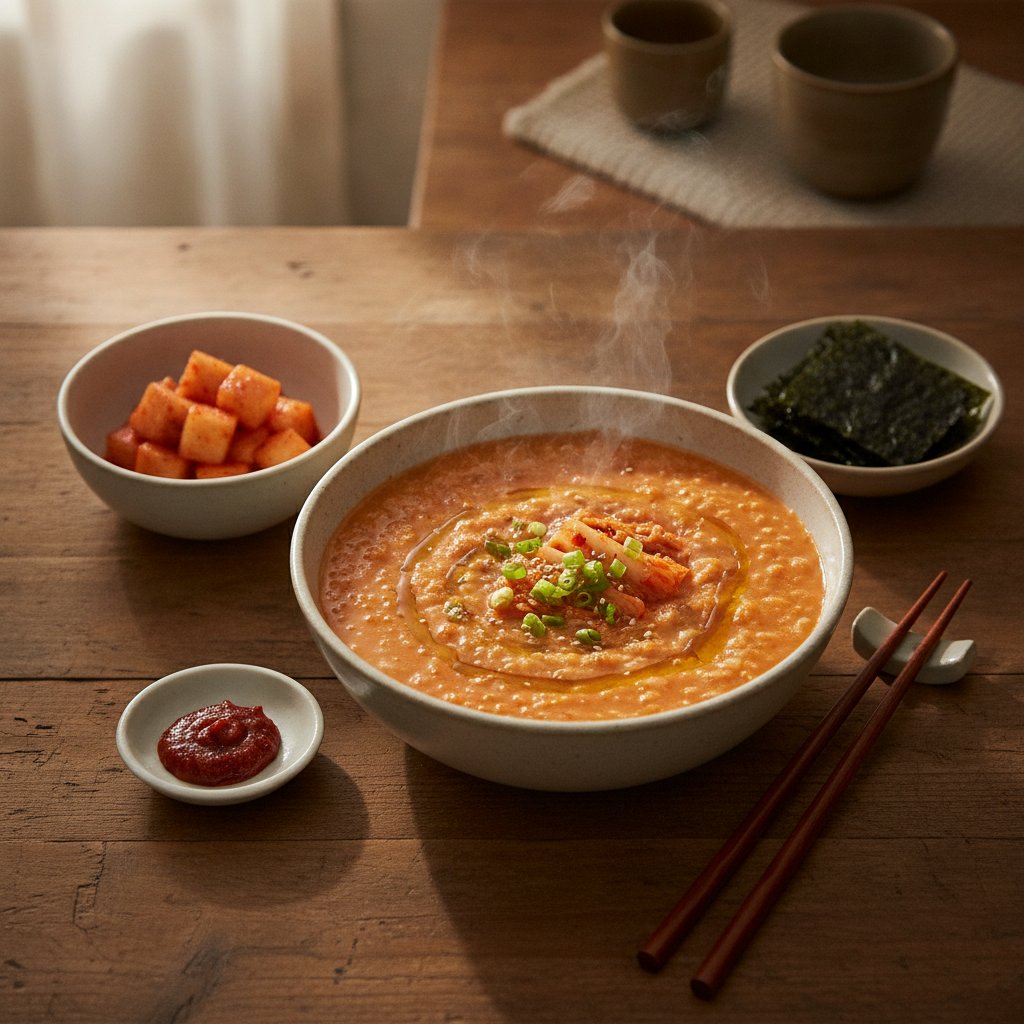
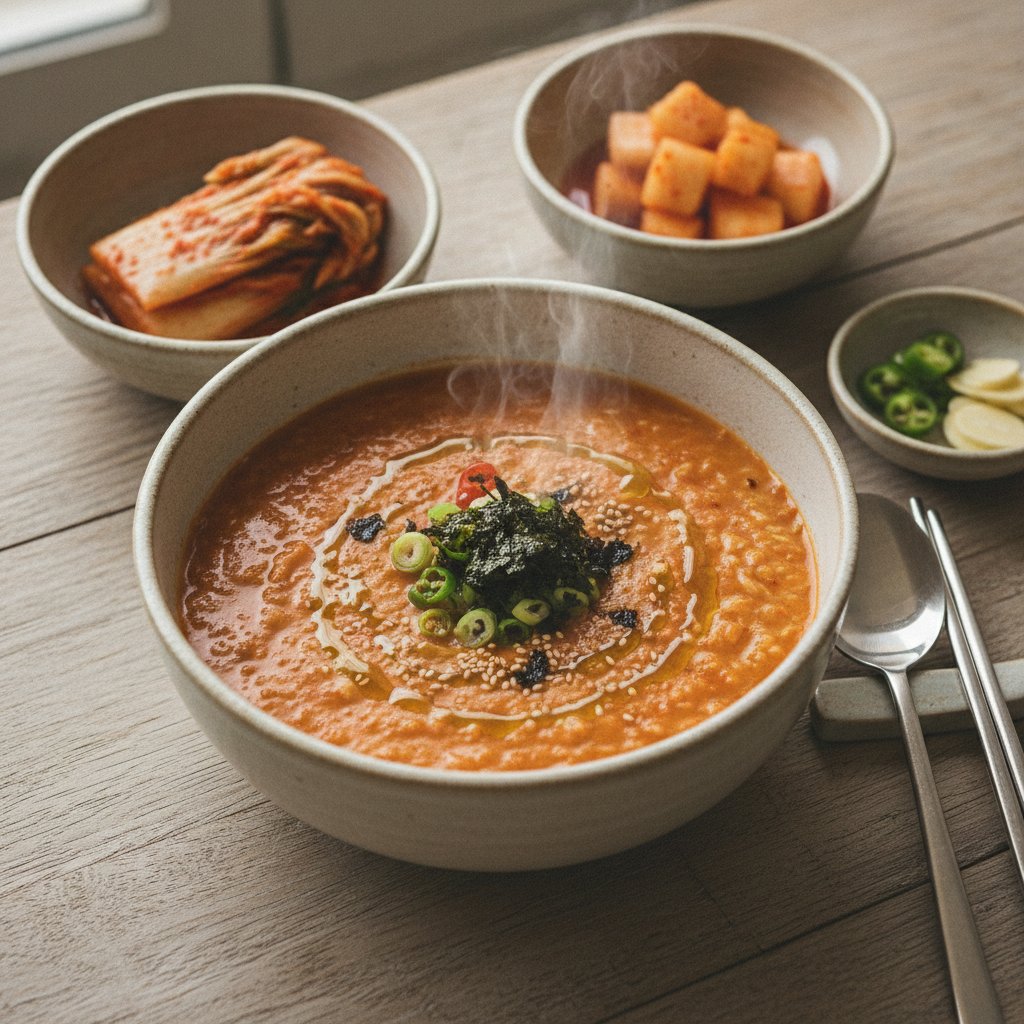
- Garnish and serve: Turn off the heat. Ladle the hot porridge into deep bowls. Top with thinly sliced green onions, crushed toasted sesame seeds, shredded gim, and an extra drizzle of sesame oil if desired. Serve immediately while piping hot.
Tips from a Korean Kitchen
- Never skip stir-frying the kimchi: Pouring broth straight over raw chopped kimchi creates a thin, acidic soup rather than a cohesive porridge. Sautéing the cabbage in fat first softens the vegetable fiber and mellows the harsh acid.
- Adjust liquid to your personal preference: Rice porridge thickens quickly as it sits. If you prefer a soupier juk, add an extra 1/2 cup of hot broth right before serving. If you prefer a thick, stick-to-your-ribs texture, simmer uncovered for an extra 3 minutes.
- Scrape the bottom constantly: Heavy starches settle at the bottom of the pot very quickly once the broth starts thickening. Use a flat wooden spoon to glide across the bottom of the pot every few minutes to prevent scorch marks, which can ruin the delicate batch.
- Balance extra sour kimchi with a pinch of sugar: If your kimchi has been in the fridge for months and tastes aggressively sour, add 1/2 teaspoon of granulated sugar or mirin while sautéing the kimchi. Sugar neutralizes excess sharp acidity without diluting the depth of flavor.
Storage
Kimchi juk is best enjoyed fresh from the stove, but leftovers make wonderful quick meals:
- Refrigeration: Allow leftovers to cool completely, then transfer to an airtight container. Store in the refrigerator for up to 3 to 4 days. Note that the rice will continue absorbing liquid as it cools, turning quite thick.
- Reheating: Place desired portion into a small saucepan over medium-low heat. Add 2 to 3 tablespoons of water or chicken broth per cup of porridge to loosen the texture. Stir continuously until heated through, about 4 to 5 minutes. You can also microwave on medium power in 1-minute bursts, stirring in between.
- Freezing: Freezing is generally not recommended. Cooked rice porridge tends to separate, turning watery and mushy upon thawing, losing its signature velvety mouthfeel.
FAQ
Can I make this kimchi porridge recipe with fresh, non-sour kimchi?
While you can make it with fresh kimchi, the porridge will lack the deep umami and signature tang that makes kimchi juk so comforting. If your kimchi is fresh and crunchy, leave it on your kitchen counter in a sealed glass jar for 1 to 2 days to let natural fermentation occur. If you must use fresh kimchi immediately, add 1/2 teaspoon of rice vinegar along with 1/2 teaspoon of soy sauce to simulate that fermented tang.
Is kimchi juk gluten-free?
Kimchi juk can easily be made gluten-free with two small ingredient checks. Ensure your gochujang (Korean chili paste) is certified gluten-free, as many commercial brands use wheat flour as a thickener. Additionally, swap standard soy sauce or guk-ganjang for a gluten-free tamari or coconut aminos. Naturally fermented kimchi, plain white rice, sesame oil, and standard broths are naturally gluten-free.
Can I add protein like pork, beef, or tuna to kimchi juk?
Absolutely. In Korea, adding canned tuna (chamchi) or small bits of pork belly (samgyeopsal) to kimchi porridge is extremely popular. If using pork or beef, slice it thin and sauté it in sesame oil alongside the kimchi at the very beginning until cooked through. If using canned tuna, drain the oil/water and fold the tuna chunks into the porridge during the final 3 minutes of simmering so the fish doesn’t break down completely.
More on Kimchi Soups & Stews
- Kimchi Sujeobi: Hand-Pulled Dough SoupA guide to making chewy Korean hand-pulled dough soup in a savory, spicy kimchi broth.
- Kimchi Jjigae (Kimchi Stew)A guide to making authentic Korean Kimchi Jjigae using sour kimchi, pork, and anchovy broth.
- Classic Pork Belly Kimchi JjigaeHow to make rich, authentic Korean kimchi stew at home using aged kimchi and pork belly.
See every Kimchi Soups & Stews post in our Kimchi guide.
Handy toolsRecipe scaler · Measurement converter · Korean pantry guide · Recipe Finder
More Korean Recipes
- Sweet Crunchy Bossam Kimchi Recipe (Musaengchae)
- Kimchi Mandu Guk: Easy Kimchi Dumpling Soup
- 10-Minute Kimchi Ramen Hack (Upgraded Kimchi Ramyeon)
- Creamy Kimchi Pasta (Kimchi Keurim Pasta)